How to add registered Sender ID and Template on MOBtexting portal?
Once the SMS sender-ID and SMS template are registered on the DLT platform, it needs to be approved and uploaded on MOBtexting SMS Portal. In this blog, we have listed all the steps to guide you through the same.
“Check out this link to set up an SMS account with MOBtexting”.
Steps to upload Registered Sender-ID on MOBtexting dashboard
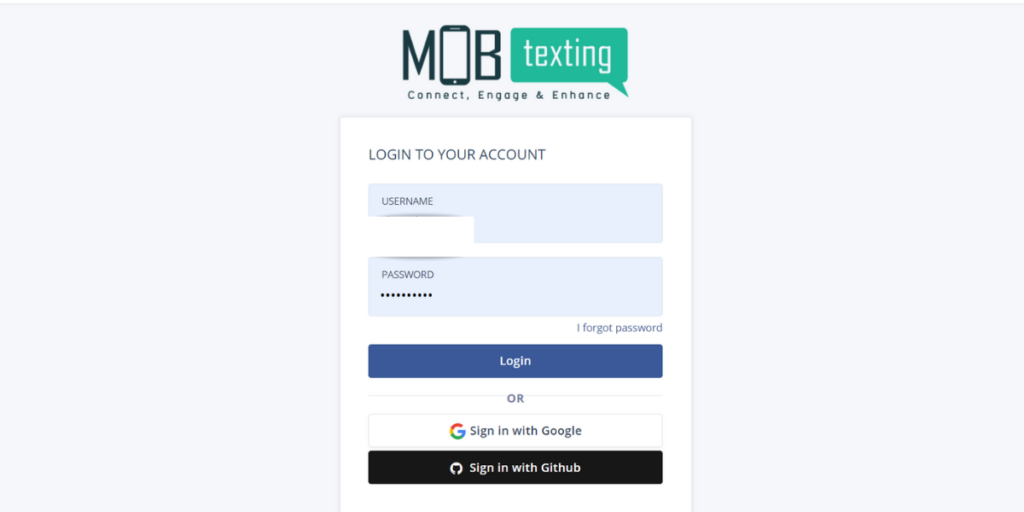
Step 1: Login into the MOBtexting dashboard with the Username and Password which you used during the Sign-Up.
https://portal.mobtexting.com/
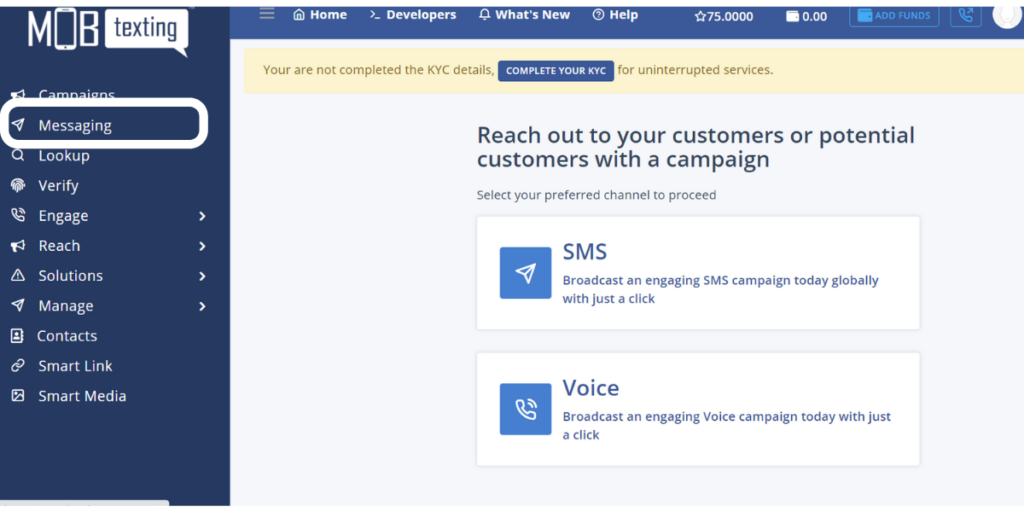
Step 2: After entering the correct details, it take you to our portal. Click on Messaging which is on home page.
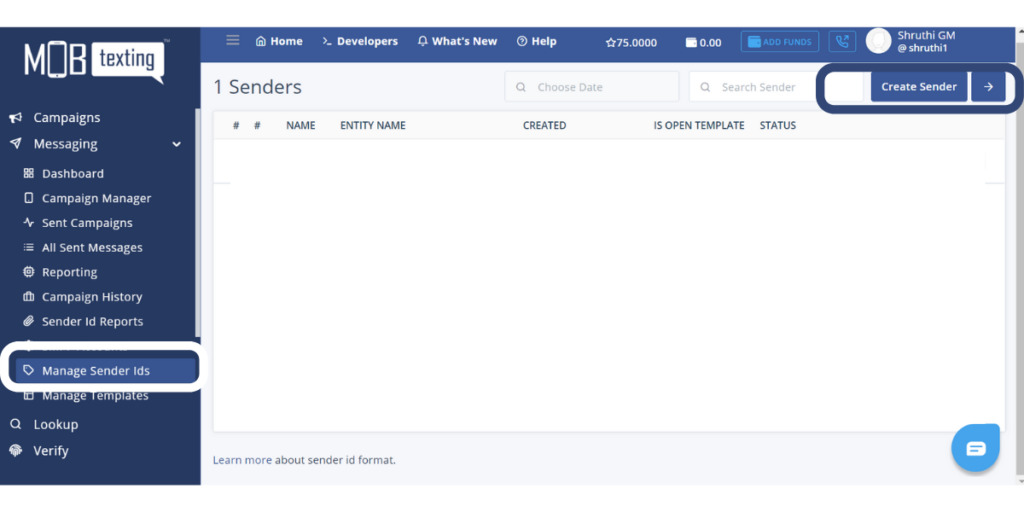
Step 3: Now click on Manage Sender Ids. To create new sender id, click on Create Sender.
Step 4: When your sender id on the DLT portal gets approved, you will receive an email confirmation that includes Sender ID, Entity Name, and DLT Principal Entity ID. After this allow us 15min of time to verify and approve the Sender ID on our portal. You can either do Bulk import or upload each sender id individually.
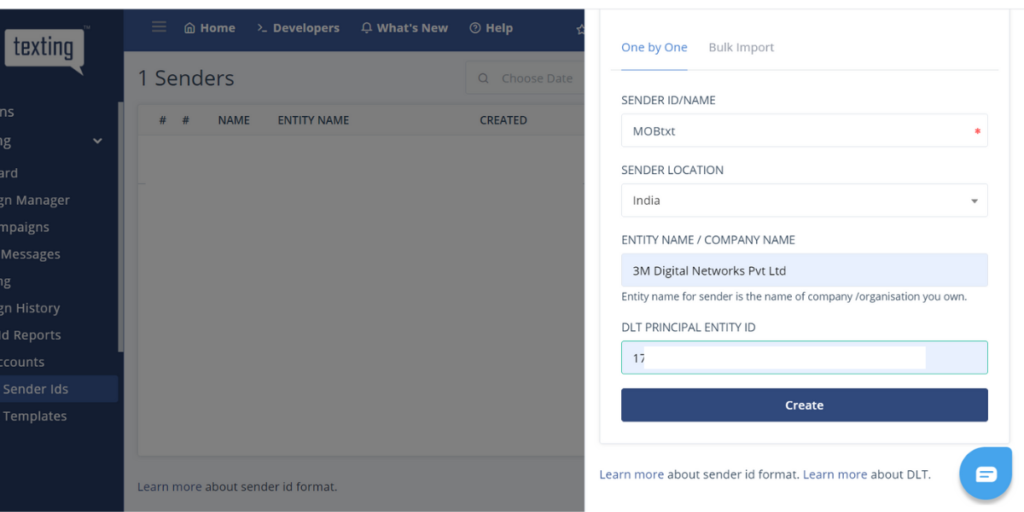
Step 5: Once it gets approved, the status will be updated to Approved.

Steps to upload registered template:
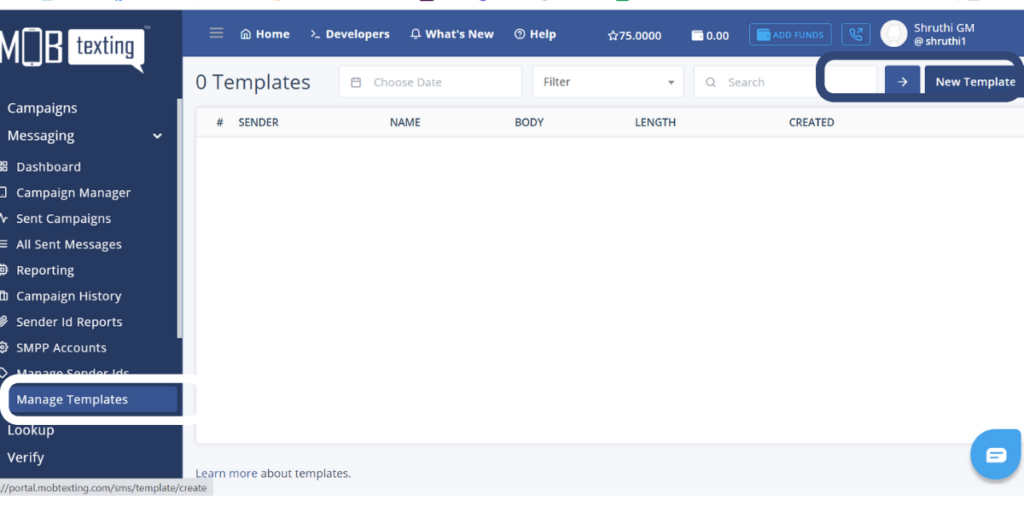
Step 1: Click on Manage Templates. Now click on New Template.
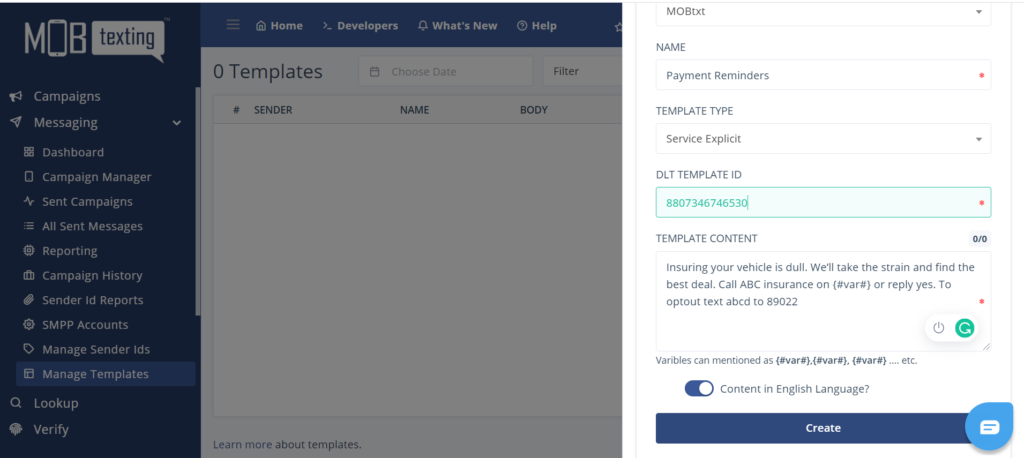
Step 2: Select Sender ID for which you want to register the template. Add other mandatory details in the required fields. Please select the correct template type to avoid the template rejection on portal.
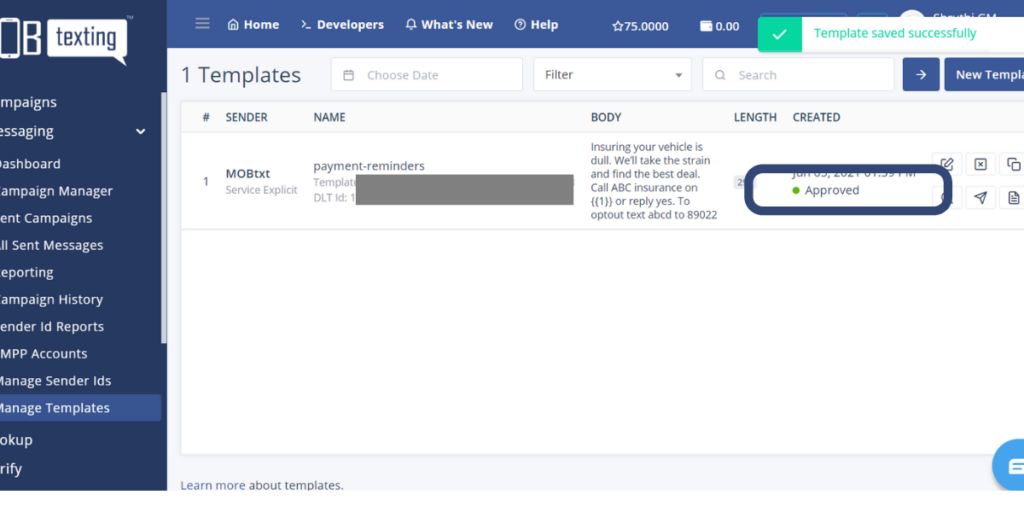
Step 3: Allow us 15minutes to verify and approve the template.
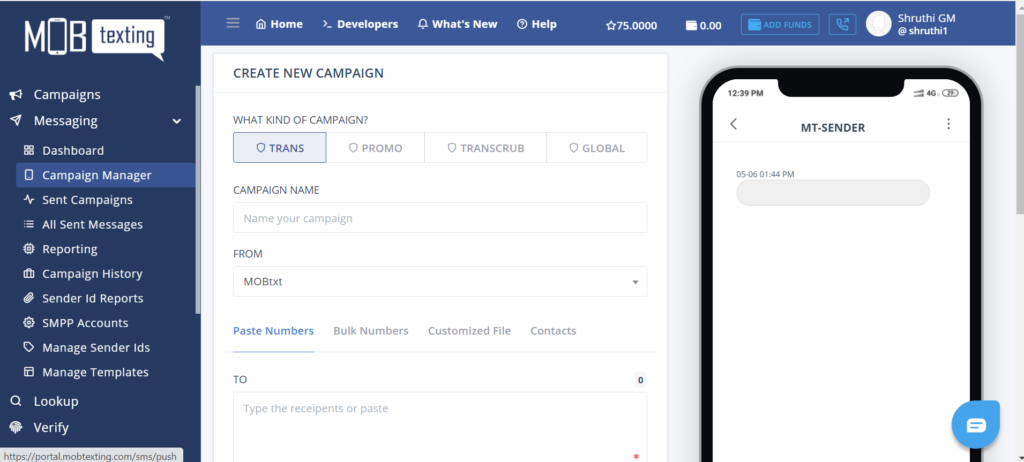
Step 4: Now that your sender id and template are approved, you can start the SMS campaign on MOBtexting.
Try our variety of Bulk SMS used in the DLT Process – FREE credit will be provided after signup with our service. Go through our DLT Registration. Contact Us at +91 9019 120 120 or Write an Email to support@webrevenant.com any time.

